- Configure your webserver to allow .htaccess files e.g.;
<VirtualHost *:80> ServerAdmin security@packetflagon.is DocumentRoot /HighIO/www/domains/YOURSERVERNAME ServerName YOURSERVERNAME.TLD ServerAlias www.YOURSERVERNAME.TLD ErrorLog logs/YOURSERVERNAME-error_log CustomLog logs/YOURSERVERNAME-access_log common <Directory /> Options FollowSymLinks AllowOverride All </Directory> </VirtualHost> - Checkout the repo;
git clone https://github.com/RoutingPacketsIsNotACrime/PacketFlagon.git /HighIO/www/domains/YOURSERVERNAME/with your own - Generate a new API key
curl https://packetflagon.is/api/create -d "{'domain':'YOURSERVERNAME.TLD','contact':'youremail@YOURSERVERNAME.TLD'}" - Edit the
libs/config.sample.phpand save aslibs/config.php - Create the directory templates_c and ensure PHP can write to it (chmod 755)
- Restart your webserver
- Done!
Automation with Chef
- Checkout and merge the PacketFlagon automation repository;
git clone https://github.com/RoutingPacketsIsNotACrime/Automation - Generate a new API key
curl https://packetflagon.is/api/create -d "{'domain':'YOURSERVERNAME.TLD','contact':'youremail@YOURSERVERNAME.TLD'}" - Edit the attributes for the node or role that will have the
packetflagon_frontendapplied to include;default_attributes( "packetflagon" => { "fqdn" => "YOURSERVERNAME.TLD", "shard-name" => "FRIENDLY NAME FOR YOUR SHARD", "force-https" => false, "credit" => "YOUR NAME", "apikey" => "YOUR API KEY FROM CURL" } ) - Apply the
packetflagon_frontendrole to the node in question - Run chef client
- Done!
----------
A local HTTP application that serves customised Proxy Auto Configuration files for your browser to help bypass Internet censorship。
go-packetflagon

An application that serves customised Proxy Auto Configuration files for your browser to help bypass Internet censorship.
How it Works
URLs added to the PAC file will be sent to a SOCKS proxy listening onlocalhost:9050 / localhost:9051 whilst any other URLs will use your normal Internet connection.We recommend you use the Tor client or Tor Browser Bundle. as the local SOCKS proxy (it will do this automatically) or follow our guide on creating an SSH based SOCKS5 proxy.
Getting Started
go-packetflagon can utilise a config file passed with the -conf argument defining the location of the URL database, a listen port etc in order to start, defaults shown below;{
"dbpath":"./pacs.db",
"listenport": 8080,
"debug":true,
"tls_enabled":false
}
Create a PAC File
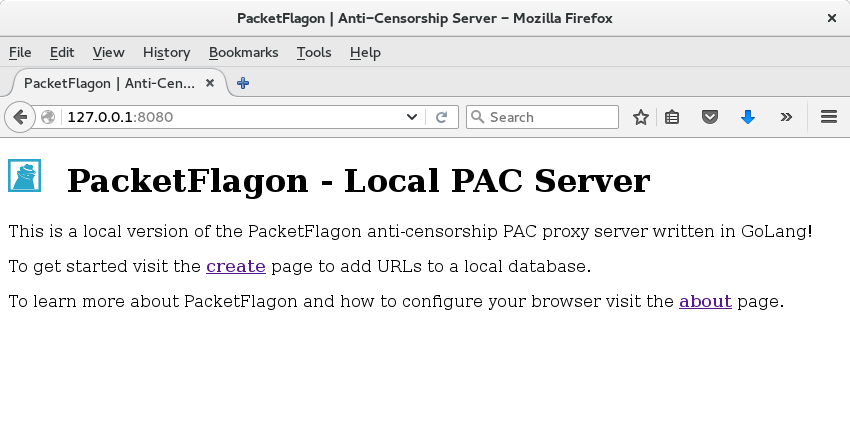
Visit http://localhost:8080/create/ in your browser.Choose a friendly name for your PAC, a description and a password (for sync/restore functionality), a comma (,) separated list of URLs to send to the local proxy and select if you want to sync this PAC file with the PacketFlagon API.
Click Create
Configure your Browser
Configure Chrome Configure Firefox Configure Safari Configure IEConfigure a Local Proxy
Create a Local Tor Proxy Create a Local SOCKS5 Proxy with SSHfrom https://github.com/BrassHornCommunications/go-packetflagon/
----------
No comments:
Post a Comment