Deploy your services in minutes with our cutting-edge, Cloudflare-powered hosting, ensuring you're always ahead of the curve with near-instantaneous deployment.


Ship your nextjs apps to the world with ease.
OneClick provides a streamlined deployment experience, allowing you to deploy your applications to Cloudflare's edge network effortlessly.
- Easy to Start
- Seamlessly connect with your Cloudflare Token and start instantly.
- Global Access
- Global reach with 95% of requests served under 50ms.
- Enterprise-grade Reliability
- 99.9% uptime guarantee backed by Cloudflare's global infrastructure.
- Useful Template Library
- Beautifully Designed, Multi-Framework Template Library.
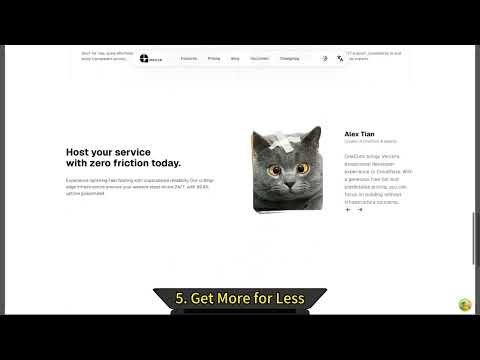
- Get More for Less
- Start for free, scale effortlessly, and enjoy transparent pricing.
- Collaboration for Success
- Unlock seamless collaboration and streamlined management for all your Cloudflare accounts.
- We Put the User First
- Designed for simplicity, engineered for integration, built for an exceptional experience.
- Always-on Support
- Get 24/7 support, powered by AI and backed by experts.
- Official Website: https://oneclick.sh/
- Documentation: https://oneclick.sh/docs
- Pricing: https://oneclick.sh/pricing
- Blog: https://oneclick.sh/blog
- Changelog: https://oneclick.sh/changelog
| Template | Framework | Example | Action |
|---|---|---|---|
| Excalidraw | React |  |
Use This Template |
| My Pull Requests | Vue | 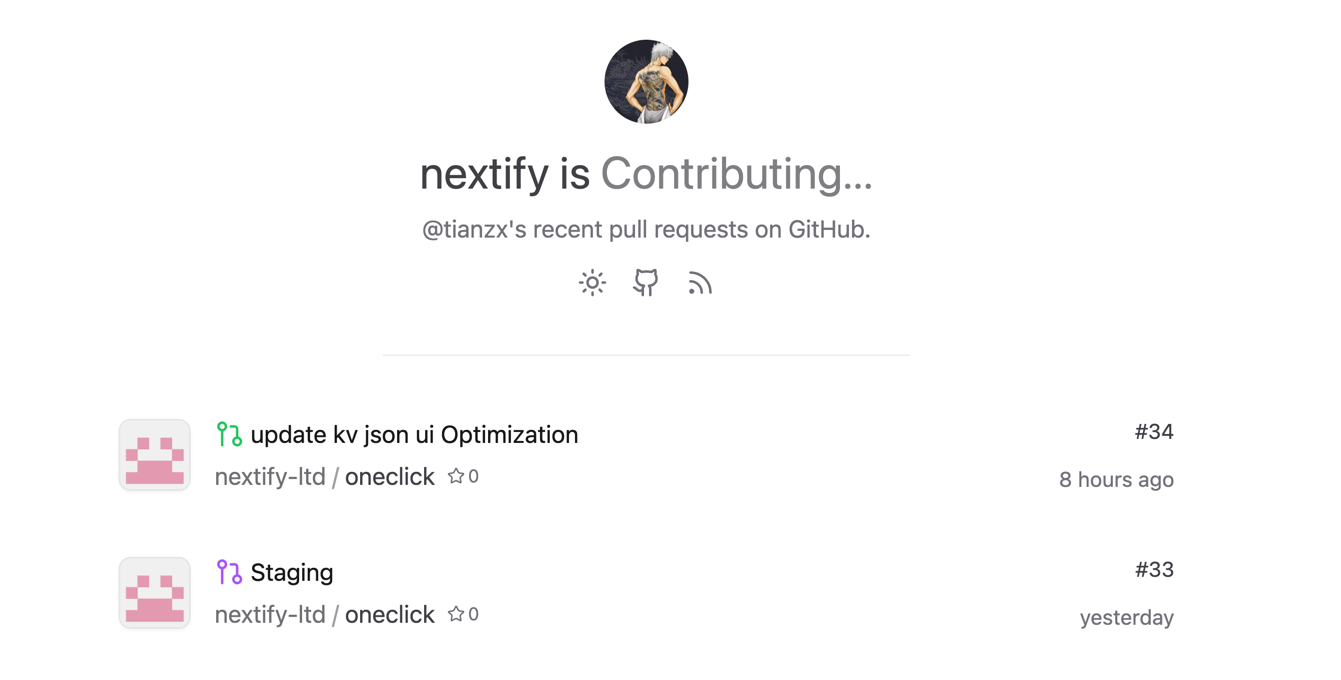 |
Use This Template |
| flux-ai-image-generator | Vue | 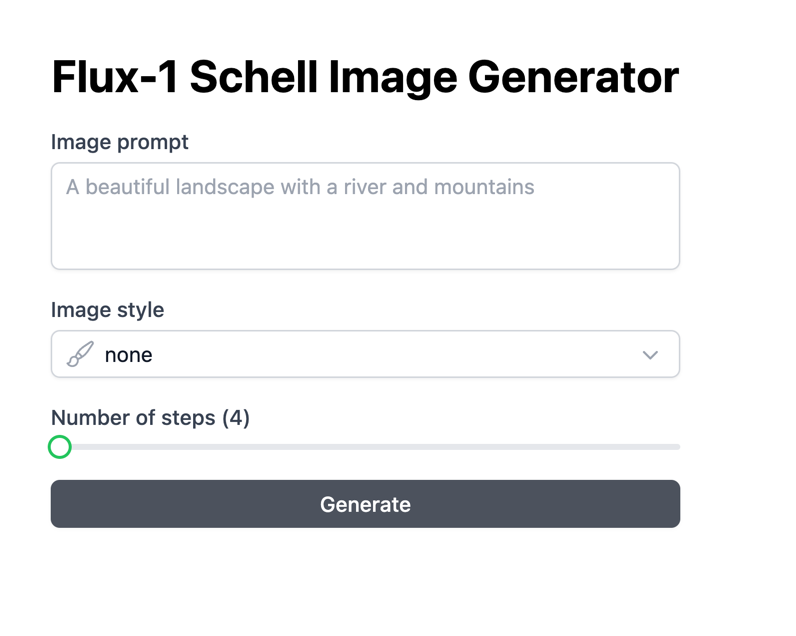 |
Use This Template |
| Resume | React | 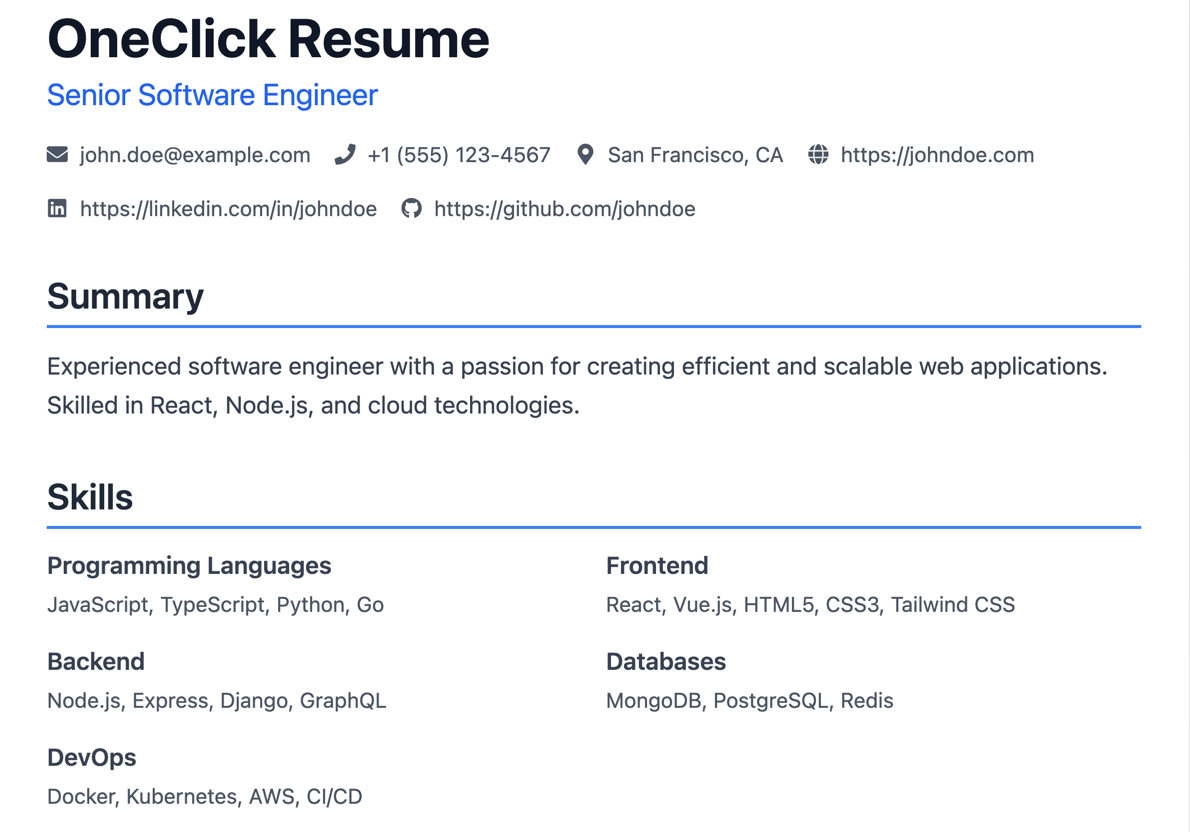 |
Use This Template |
| Web Image Extractor | Remix | 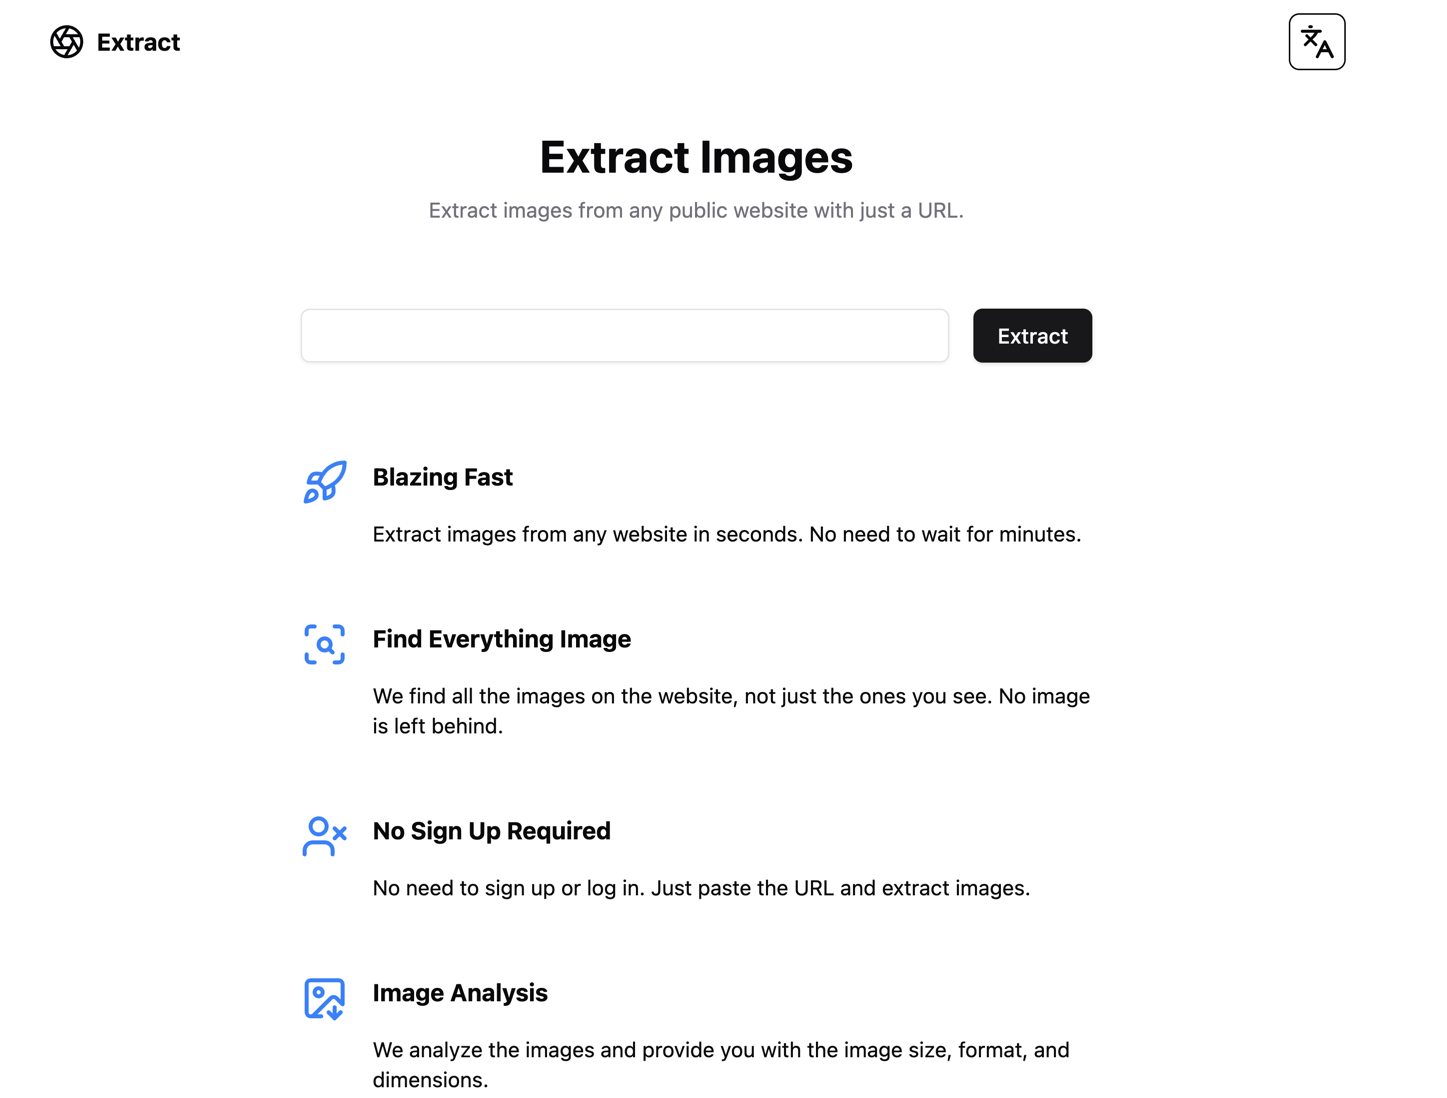 |
Use This Template |
| PenX | NextJS | 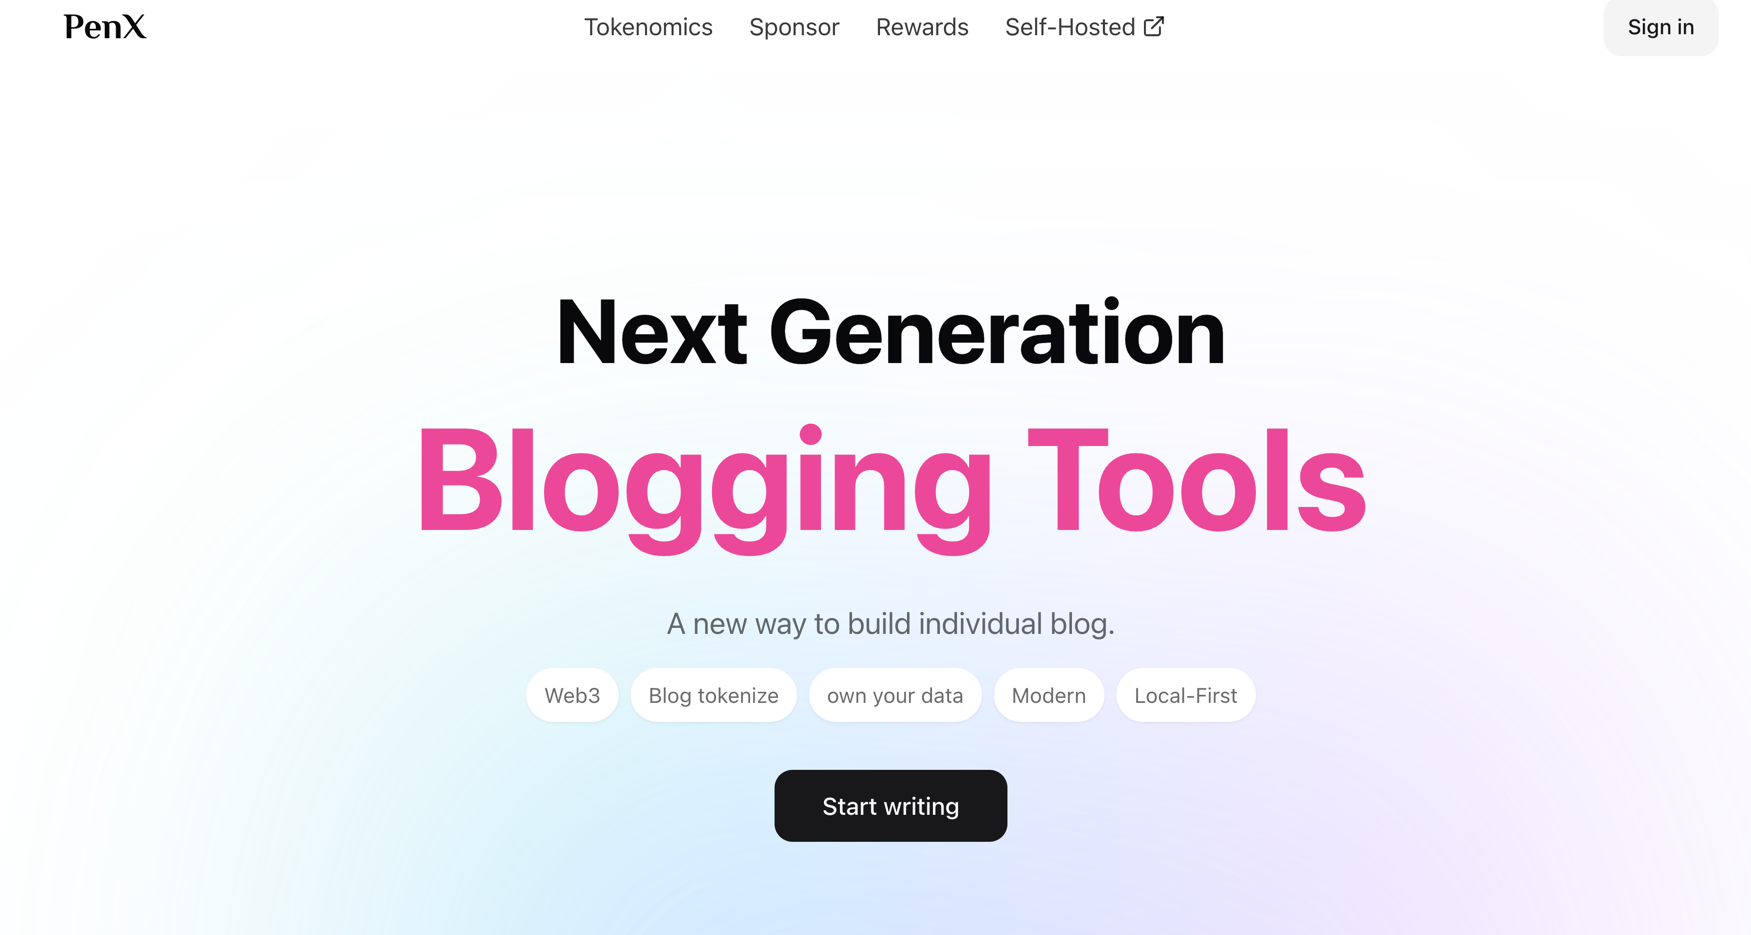 |
Use This Template |
Submit Your Templates to Developers: contact@oneclick.sh
- X (Twitter)
- Nextify2024: https://x.com/nextify2024
- BingxunYao: https://x.com/BingxunYao
- LinkedIn:
- Discord: https://discord.gg/29PqFHUVkz
- Email: contact@oneclick.sh
from https://github.com/nextify-ltd/oneclick-platform
------
访问 https://oneclick.sh,我用我的github账号ymbrite授权登录此网站。登录后,页面跳转到
https://oneclick.sh/ymbrite/dashboard,右上角会显示Required Permissions。如图:

访问https://dash.cloudflare.com/profile/api-tokens ,然后点击页面里的Account API Tokens链接:
https://dash.cloudflare.com/?to=/:account/api-tokens以创建Account API Token。点击跳转到的页面里的create token按钮。然后点击
API token templates下面的Edit Cloudflare Workers右边的use template按钮,然后对各项设置权限。最后显示:
Edit Cloudflare Workers' API token summary
This API token will affect the below accounts and zones, along with their respective permissions
Ymbrite@gmail.com's Account - Workers KV Storage:Edit, Workers Scripts:Edit, Account Settings:Read, Workers Tail:Read, Workers R2 Storage:Edit, Cloudflare Pages:Edit, Workers Builds Configuration:Edit, Workers Agents Configuration:Edit, Workers Observability:Edit, Containers:Edit, Vectorize:Edit, Workers R2 Storage:Edit, Workers R2 Data Catalog:Edit, AI Gateway:Read, AI Search:Read
All zones - Workers Routes:Edit, DNS:Edit
Edit Cloudflare Workers API token was successfully created.
Copy this token to access the Cloudflare API. For security this will not be shown again.
Cloudflare Workers's API token is: 一串字符。
然后把这串字符粘贴到https://oneclick.sh/ymbrite/dashboard页面左边的API Token下面的框里,然后点击connect account按钮,然后页面的右下角会显示successfully linked your cloudflare account.
No comments:
Post a Comment