This repository contains Kustomize manifests that point to the upstream
manifest of each Kubeflow component and provides an easy way for people
to change their deployment according to their need. ArgoCD application
manifests for each component will be used to deploy Kubeflow. The intended
usage is for people to fork this repository, make their desired kustomizations,
run a script to change the ArgoCD application specs to point to their fork
of this repository, and finally apply a master ArgoCD application that will
deploy all other applications.
To run the below script yq version 4
must be installed
Edit the IP range in configmap.yaml so that it is within
the range of your docker network. To get your docker network range,
run the following command:
docker network inspect -f '{{.IPAM.Config}}' kind
After updating the metallb configmap, deploy it by running:
kustomize build metallb/ | kubectl apply -f -
Deploy Argo CD
Deploy Argo CD with the following commaind:
kustomize build argocd/ | kubectl apply -f -
Expose Argo CD with a LoadBalancer to access the UI by executing:
To deploy Kubeflow, execute the following command:
kubectl apply -f kubeflow.yaml
Note - This deploys all components of Kubeflow 1.3, it might take a while
for everything to get started. Also, it is unknown what hardware specifications
are needed for this at the current time, so your mileage may vary. Also,
this deployment is using the manifests in this repository directly. For instructions
how to customize the deployment and have Argo CD use those manifests see the next section.
Get the IP of the Kubeflow gateway with the following command:
kubectl get svc istio-ingressgateway -n istio-system
Login to Kubeflow with "email-address" user@kubeflow.org and password 12341234
Remove kind cluster
Run: kind delete cluster
Installing ArgoCD
For this installation the HA version of ArgoCD is used.
Due to Pod Tolerations, 3 nodes will be required for this installation.
If you do not wish to use a HA installation of ArgoCD,
edit this kustomization.yaml and remove /ha
from the URI.
Next, to install ArgoCD execute the following command:
Access the ArgoCD UI by exposing it through a LoadBalander, Ingress or by port-fowarding
using kubectl port-forward svc/argocd-server -n argocd 8080:443
Login to the ArgoCD CLI. First get the default password for the admin user:
kubectl -n argocd get secret argocd-initial-admin-secret -o jsonpath="{.data.password}" | base64 -d
Next, login with the following command:
argocd login <ARGOCD_SERVER> # e.g. localhost:8080 or argocd.example.com
Finally, update the account password with:
argocd account update-password
You can now login to the ArgoCD UI with your new password.
This UI will be handy to keep track of the created resources
while deploying Kubeflow.
Note - Argo CD needs to be able access your repository to deploy applications.
If the fork of this repository that you are planning to use with Argo CD is private
you will need to add credentials so it can access the repository. Please see
the instructions provided by Argo CD here.
Installing Kubeflow
The purpose of this repository is to make it easy for people to customize their Kubeflow
deployment and have it managed through a GitOps tool like ArgoCD.
First, fork this repository and clone your fork locally.
Next, apply any customization you require in the kustomize folders of the Kubeflow
applications. Next will follow a set of recommended changes that we encourage everybody
to make.
Credentials
The default username, password and namespace of this deployment are:
user, 12341234 and kubeflow-user respectively.
To change these, edit the user and profile-name
(the namespace for this user) in params.env.
Next, in configmap-path.yaml
under staticPasswords, change the email, the hash and the username
for your used account.
staticPasswords:
- email: userhash: $2y$12$4K/VkmDd1q1Orb3xAt82zu8gk7Ad6ReFR4LCP9UeYE90NLiN9Df72username: user
The hash is the bcrypt has of your password.
You can generate this using this website,
or with the command below:
To add new static users to Dex, you can add entries to the
configmap-path.yaml
and set a password as described above.If you have already deployed Kubeflow
commit these changes to your fork so Argo CD detects them. You will also
need to kill the Dex pod or restart the dex deployment. This can be
done in the Argo CD UI, or by running the following command:
kubectl rollout restart deployment dex -n auth
Ingress and Certificate
By default the Istio Ingress Gateway is setup to use a LoadBalancer
and to redirect HTTP traffic to HTTPS. Manifests for MetalLB are provided
to make it easier for users to use a LoadBalancer Service.
Edit the configmap.yaml and set
a range of IP addresses MetalLB can use under data.config.address-pools.addresses.
This must be in the same subnet as your cluster nodes.
If you do not wish to use a LoadBalancer, change the spec.type in gateway-service.yaml
to NodePort.
To provide HTTPS out-of-the-box, the kubeflow-self-signing-issuer used by internal
Kubeflow applications is setup to provide a certificate for the Istio Ingress
Gateway.
To use a different certificate for the Ingress Gateway, change
the spec.issuerRef.name to the cert-manager ClusterIssuer you would like to use in ingress-certificate.yaml
and set the spec.commonName and spec.dnsNames[0] to your Kubeflow domain.
If you would like to use LetsEncrypt, a ClusterIssuer template if provided in
letsencrypt-cluster-issuer.yaml.
Edit this file according to your requirements and uncomment the line in
the kustomization.yaml file
so it is included in the deployment.
Customizing the Jupyter Web App
To customize the list of images presented in the Jupyter Web App
and other related setting such as allowing custom images,
edit the spawner_ui_config.yaml
file.
Change ArgoCD application specs and commit
To simplify the process of telling ArgoCD to use your fork
of this repo, a script is provided that updates the
spec.source.repoURL of all the ArgoCD application specs.
Simply run:
./setup_repo.sh <your_repo_fork_url>
If you need to target a specific branch or release on your for you can add a second
argument to the script to specify it.
To change what Kubeflow or third-party componenets are included in the deployment,
edit the root kustomization.yaml and
comment or uncomment the components you do or don't want.
Next, commit your changes and push them to your repository.
Deploying Kubeflow
Once you've commited and pushed your changes to your repository,
you can either choose to deploy componenet individually or
deploy them all at once.
For example, to deploy a single component you can run:
After this, you should start seeing applications being deployed in
the ArgoCD UI and what the resources each application create.
Updating the deployment
By default, all the ArgoCD application specs included here are
setup to automatically sync with the specified repoURL.
If you would like to change something about your deployment,
simply make the change, commit it and push it to your fork
of this repo. ArgoCD will automatically detect the changes
and update the necessary resources in your cluster.
Bonus: Extending the Volumes Web App with a File Browser
A large problem for many people is how to easily upload or download data to and from the
PVCs mounted as their workspace volumes for Notebook Servers. To make this easier
a simple PVCViewer Controller was created (a slightly modified version of
the tensorboard-controller). This feature was not ready in time for 1.3,
and thus I am only documenting it here as an experimental feature as I believe
many people would like to have this functionality. The images are grabbed from my
personal dockerhub profile, but I can provide instructions for people that would
like to build the images themselves. Also, it is important to note that
the PVC Viewer will work with ReadWriteOnce PVCs, even when they are mounted
to an active Notebook Server.
Here is an example of the PVC Viewer in action:
To use the PVCViewer Controller, it must be deployed along with an updated version
of the Volumes Web App. To do so, deploy
experimental-pvcviewer-controller.yaml and
experimental-volumes-web-app.yaml
instead of the regular Volumes Web App. If you are deploying Kubeflow with
the kubeflow.yaml file, you can edit the root
kustomization.yaml and comment out the regular
Volumes Web App and uncomment the PVCViewer Controller and Experimental
Volumes Web App.
Troubleshooting
I can't get letsencrypt to work. The cert-manager logs show 404 errors.
The letsencrypt HTTP-01 challenge is incompatible with using OIDC (Link). If your DNS server allows programmatic access, use the DNS-01 challenge solver instead.
I am having problems getting the deployment to run on a cluster deployed with kubeadm and/or kubespray.
The kube-apiserver needs additional arguments if your are running a kubenetes version below the recommended version 1.20: --service-account-issuer=kubernetes.default.svc and --service-account-signing-key-file=/etc/kubernetes/ssl/sa.key.
If your are using kubespray, add the following snipped to your group_vars:
Note that the rook deployment shipped with ArgoFlow requires a HA setup with at least 3 nodes.
Make sure, that there is a clean partition or drive available for rook to use.
Change the deviceFilter in cluster-patch.yaml to match the drives you want to use. For nvme drives change the filter to ^nvme[0-9]. In case your have previously deployed rook on any of the disks, format them, remove the folder /var/lib/rook on all nodes, and reboot. Alternatively, follow the rook-ceph disaster recover guide to adopt an existing rook-ceph cluster.
from https://github.com/argoflow/argoflow
------
deployKF builds machine learning platforms on Kubernetes. We
combine the best of Kubeflow, Airflow†, and MLflow† into a complete
platform.
deployKF builds machine learning platforms on Kubernetes.
We combine the best of
Kubeflow,
Airflow†, and
MLflow†
into a complete platform that is easy to deploy and maintain.
deployKF combines the ease of a managed service with the flexibility of a self-hosted solution.
Our goal is that any Kubernetes user can build a machine learning platform for their organization,
without needing specialized MLOps knowledge, or a team of experts to maintain it.
deployKF is a new and growing project.
If you like what we are doing, please help others discover us by sharing the project with your colleagues and/or the wider community.
We greatly appreciate GitHub Stars ⭐ on the deployKF/deployKF repository:
Other Resources
Commercial Support
To discuss commercial support options for deployKF, please connect with Aranui Solutions, the company started by the creators of deployKF.
Learn more on the Aranui Solutions Website.
Community
The deployKF community uses the Kubeflow Slack for informal discussions among users and contributors.
deployKF was originally created and is maintained by Mathew Wicks (GitHub: @thesuperzapper), a Kubeflow lead and maintainer of the popular Apache Airflow Helm Chart.
deployKF is a community-led project that welcomes contributions from anyone who wants to help.


deployKF builds machine learning platforms on Kubernetes.
Kubeflow,
Airflow†, and
MLflow† into a complete platform that is easy to deploy and maintain.
Istio,
cert-manager,
Kyverno,
S3, and
MySQL
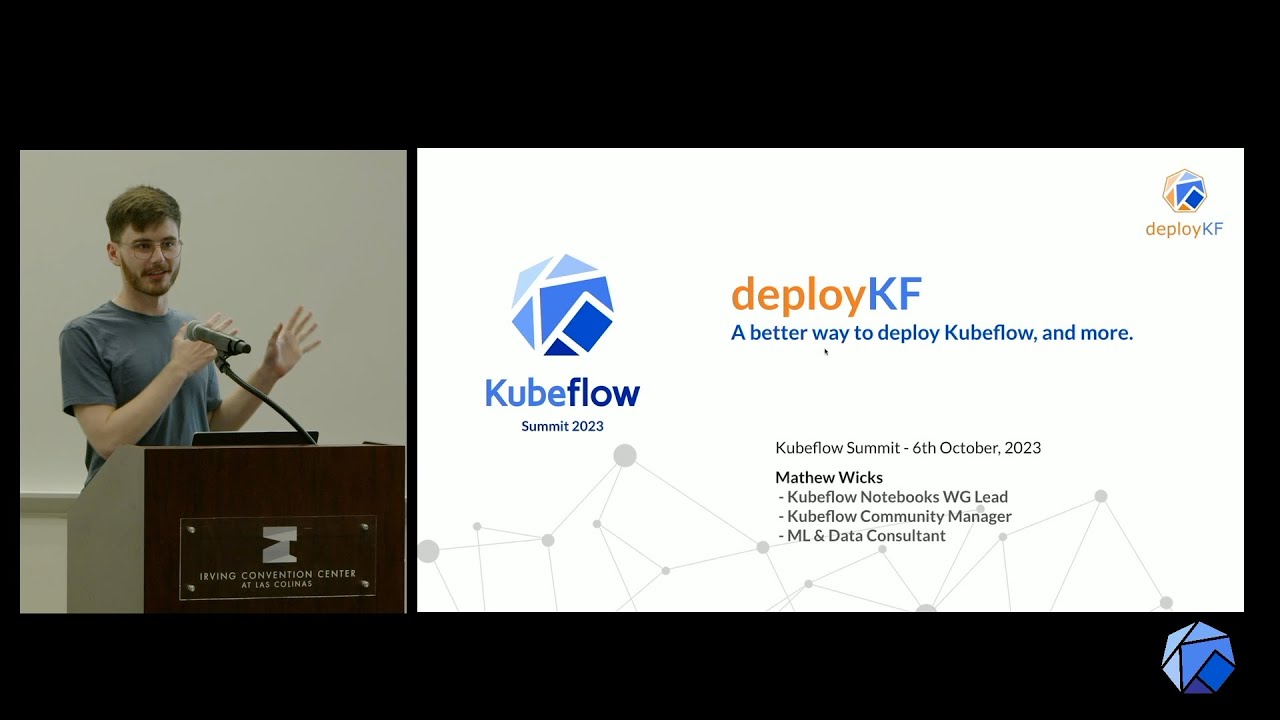 Title: deployKF: A better way to deploy Kubeflow (and more)

Aranui Solutions, the company started by the creators of deployKF. Learn more on the Aranui Solutions Website.
No comments:
Post a Comment