the React Framework.


Getting Started
Visit https://nextjs.org/learn to get started with Next.js.
Documentation
Visit https://nextjs.org/docs to view the full documentation.
Who is using Next.js?
Next.js is used by the world's leading companies. Check out the Next.js Showcase to learn more.
Community
The Next.js community can be found on GitHub Discussions, where you can ask questions, voice ideas, and share your projects.
To chat with other community members you can join the Next.js Discord.
Our Code of Conduct applies to all Next.js community channels.
Contributing
Please see our contributing.md.
Good First Issues
We have a list of good first issues that contain bugs which have a relatively limited scope. This is a great place to get started, gain experience, and get familiar with our contribution process.
from https://github.com/vercel/next.js
---------------------------------------------
https://nextjs.org/learn/foundations/about-nextjs
-----------------------------------------------------------
Installation
System Requirements:
- or later.
- macOS, Windows (including WSL), and Linux are supported.
Automatic Installation
We recommend creating a new Next.js app using create-next-app, which sets up everything automatically for you. To create a project, run:
npx create-next-app@latestOn installation, you'll see the following prompts:
What is your project named? my-app
Would you like to add TypeScript with this project? Y/N
Would you like to use ESLint with this project? Y/N
Would you like to use Tailwind CSS with this project? Y/N
Would you like to use the `src/ directory` with this project? Y/N
What import alias would you like configured? `@/*`
Next.js now ships with TypeScript, ESLint, and Tailwind CSS configuration by default. You can also choose to use the src directory for your application code.
After the prompts, create-next-app will create a folder with your project name and install the required dependencies.
Note: While you can use the Pages Router in your new project. We recommend starting new applications with the App Router to leverage React's latest features.
Manual Installation
To manually create a new Next.js app, install the required packages:
npm install next@latest react@latest react-dom@latestOpen package.json and add the following scripts:
{
  "scripts": {
    "dev": "next dev",
    "build": "next build",
    "start": "next start",
    "lint": "next lint"
  }
}
These scripts refer to the different stages of developing an application:
dev: runsnext devto start Next.js in development mode.build: runsnext buildto build the application for production usage.start: runsnext startto start a Next.js production server.lint: runsnext lintto set up Next.js' built-in ESLint configuration.
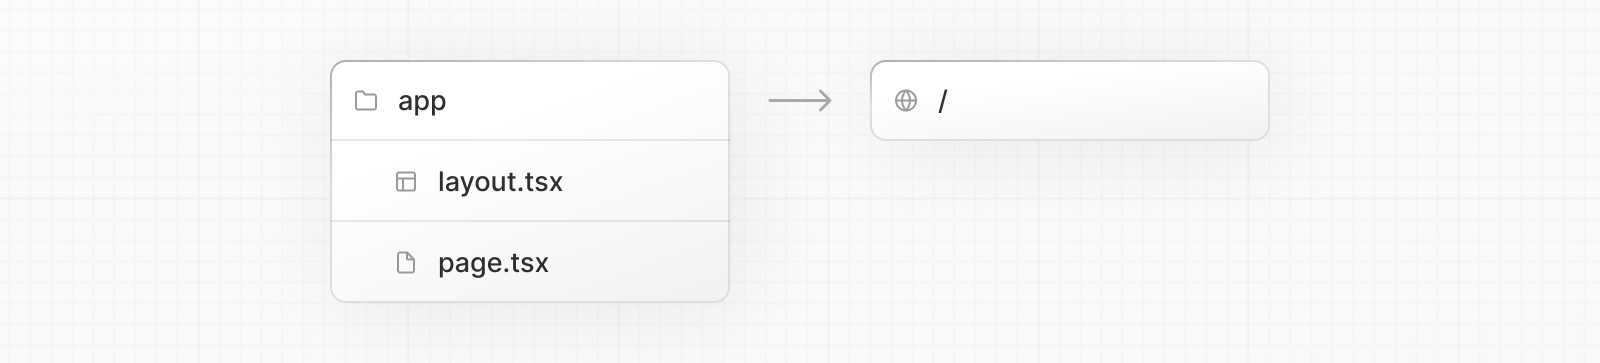
Create the app folder
Next, create an app folder and add a layout.tsx and page.tsx file. These will be rendered when the user visits the root of your application.
Create a root layout inside app/layout.tsx with the required <html> and <body> tags:
export default function RootLayout({
  children,
}: {
  children: React.ReactNode;
}) {
  return (
    <html lang="en">
      <body>{children}</body>
    </html>
  );
}
Finally, create a home page app/page.tsx with some initial content:
export default function Page() {
  return <h1>Hello, Next.js!</h1>;
}
Good to know: If you forget to create
layout.tsx, Next.js will automatically create this file for you when running the development server withnext dev.
Create the public folder
You can optionally create a public folder to store static assets such as images, fonts, etc. Files inside public directory can then be referenced by your code starting from the base URL (/).
Run the Development Server
- Run
npm run devto start the development server. - Visit
http://localhost:3000to view your application. - Edit
app/layout.tsxorapp/page.tsxand save to see the updated result in your browser.
Next Steps
No comments:
Post a Comment