A simple static site generator for photoessays
Intro
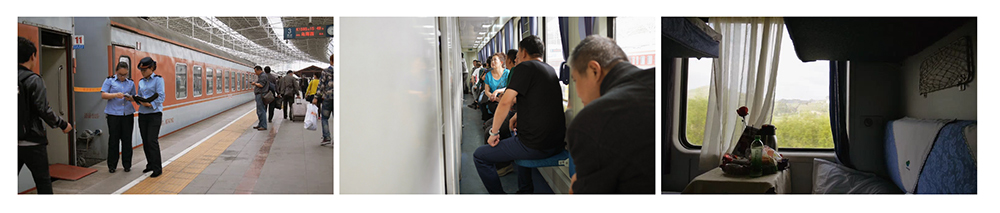
If you're into photography, you probably have folders of images and videos like this: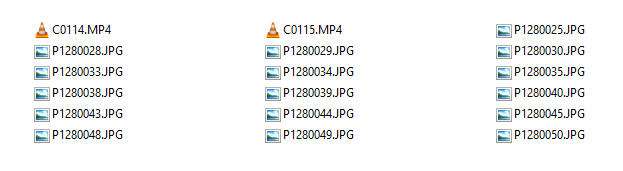
Expose is a Bash script that turns those images and videos into a photoessay similar to jack.ventures or jack.works (my personal blogs)
If you're not a fan of that look, a Medium-style theme is included
tested on Windows/Cygwin, OSX, and should be fine on Linux
Installation
The only dependency is Imagemagick. For videos FFmpeg is also required.download the repo and alias the script
alias expose=/script/location/expose.sh
Basic usage
cd ~/folderofimages
expose
Flags
expose -d
Generated images and videos are not overwritten, to do a completely clean build delete the existing _site directory first.
Adding text
The text associated with each image is read from any text file with the same filename as the image, eg: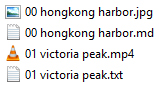
Sorting
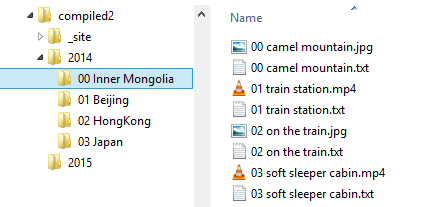
Images are sorted by alphabetical order. To arbitrarily order images, add a numerical prefixOrganization
You can put images in folders to organize them. The folders can be nested any number of times, and are also sorted alphabetically. The folder structure is used to generate a nested html menu.To arbitrarily order folders, add a numerical prefix to the folder name. Any numerical prefixes are stripped from the url.
Any folders, images or videos with an "_" prefix are ignored and excluded from the build.
Text metadata
YAML in the text file is read and made available to the theme. The variables depend on the theme used.Theme-1 specific options
---
top: 30
left: 5
width: 30
height: 20
textcolor: #ffffff
---
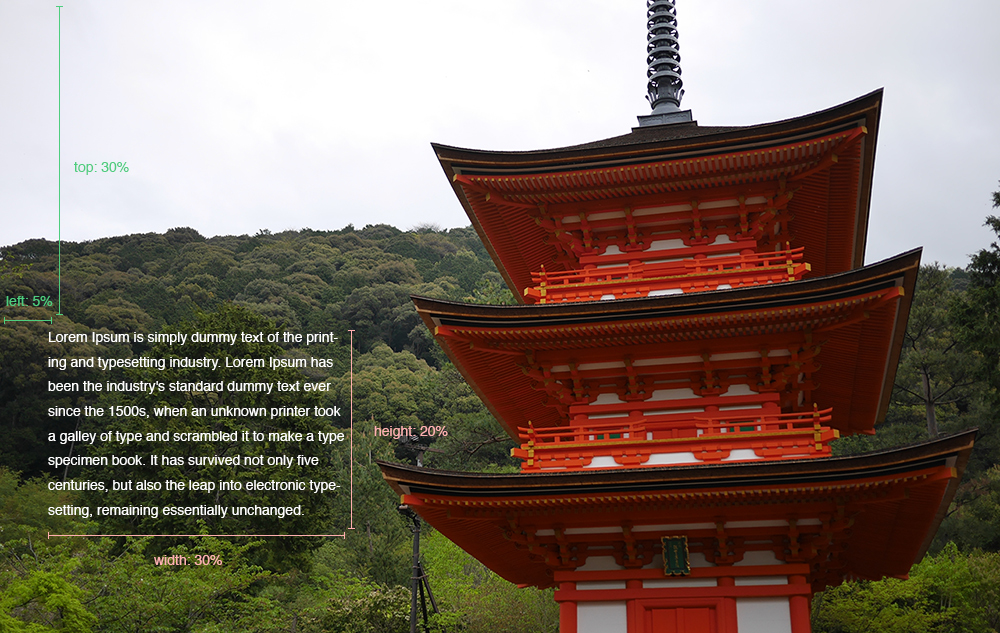
The units are in percentages
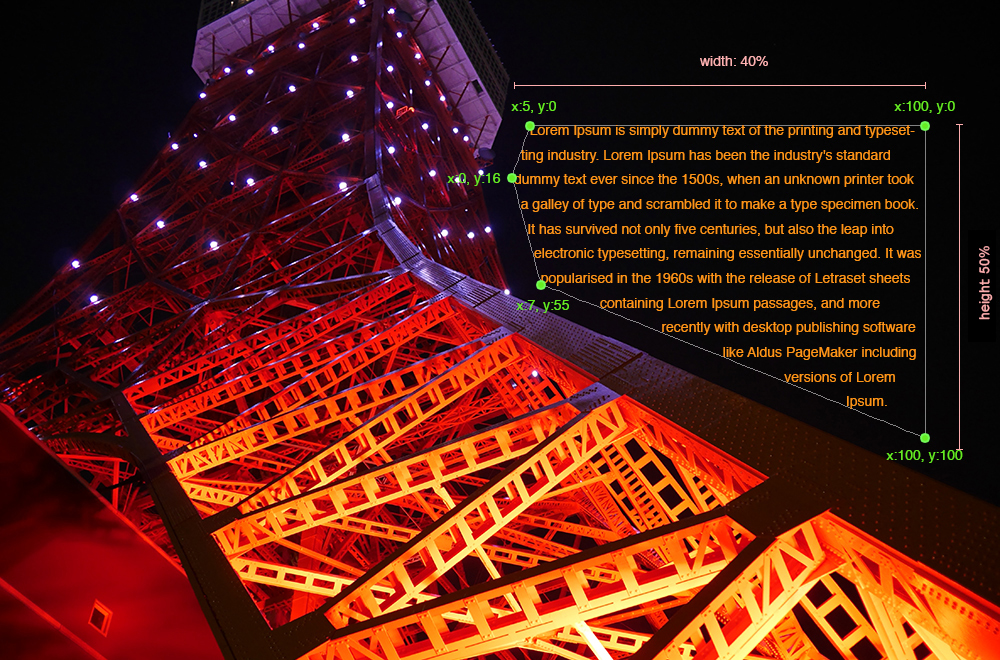
---
top: 12
left: 50
width: 40
height: 50
polygon:[{"x":5, "y":0},{"x":100, "y":0},{"x":100, "y":100},{"x":7, "y":55}, {"x":0, "y":16}]
textcolor: #ff9518
---
Theme-2 specific options
---
width: 32.5
---
Clicking on each image shows it in full screen mode.
Note that in this theme the text goes above its associated image, except the first image which is used as a masthead.
CSS classes can be passed to the template via the "class" property. eg: use
class: textafter to add a CSS class that makes the text go after the image.Metadata file
If you want certain variables to apply to an entire gallery, place a metadata.txt (this is configurable) file in the gallery directory. eg. in metadata.txt:width: 19
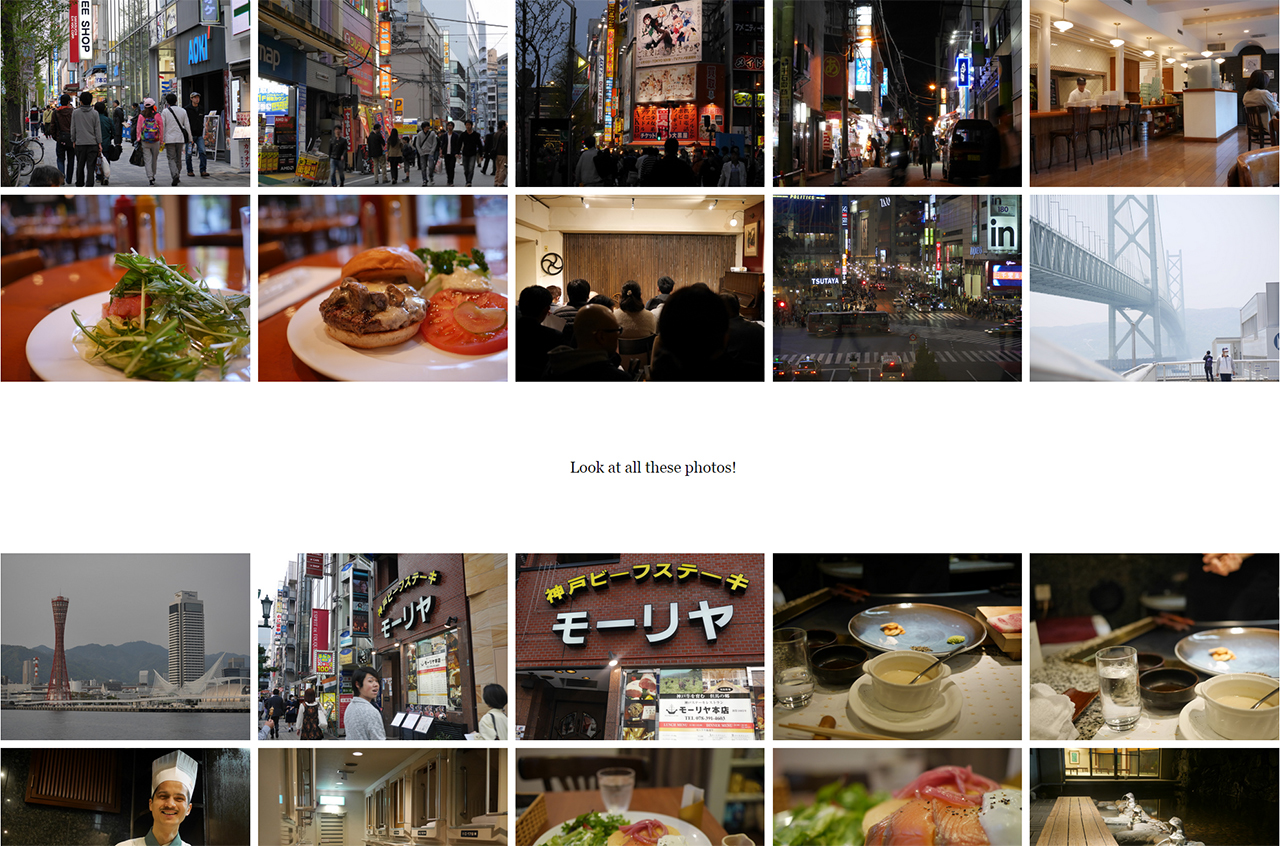
This sets all image widths to form a grid. Metadata file parameters are overriden by metadata in individual posts.
Advanced usage
Video options
Since we're using FFMpeg for video, we can leverage its filter framework for quick effects. This also saves a re-encode from a video editor workflow. Not all the FFmpeg options are applicable, but here are a few I found useful:---
video-options: -ss 10 -t 5
---
---
video-filters: lut3d=file=fuji3510.cube
---

Here I use a nice low-contrast LUT I found online with excellent highlight rolloff for a cinematic look.
---
video-filters: deshake,unsharp=6:6:3,lutyuv="u=128:v=128"
---
A full list of FFmpeg filters can be found here
Image options
Similar to videos, we can leverage the image editing features of Imagemagick.Things like cropping and color correction are very visual operations that are hard to do in command line. Most people would shoot in RAW and export as jpeg anyways, so a lot of ImageMagick's CLI options won't be very useful. However, it is very handy for non-destructively applying effects across an entire gallery, eg:
---
image-options: watermark.png -gravity SouthEast -geometry +50+50 -composite
---
---
image-options: -sharpen 0x1.5
---
---
image-options: -hald-clut transform.png
---
---
image-options: -colorspace Gray -sigmoidal-contrast 5,50%
---
A full list of Imagemagick options can be found here
Image sequences
Timelapse and stop-motion are a great way to add motion to a scene. If your folder contains the key word "imagesequence" (this is configurable), the images in the folder will be converted to a video. Video options and filters may be applied to image sequences.
By default the video is encoded at 24fps.
Templating
If the two built-in themes aren't your thing, you can create a new theme. There are only two template files in a theme:template.html contains the global html for your page. It has access to the following built-in variables:
- {{basepath}} - a path to the top level directory of the generated site with trailing slash, relative to the current html file
- {{resourcepath}} - a path to the gallery resource directory, relative to the current html file. This will be mostly empty (since the html page is in the resource directory), except for the top level index.html file, which necessarily draws resources from a subdirectory
- {{resolution}} - a list of horizontal resolutions, as specified in the config. This is a single string with space-delimited values
- {{videoformats}} - a list of video codecs that are generated, as defined in the config. This is also a single string with space-delimited values
- {{content}} - where the text/images will go
- {{sitetitle}} - a global title for your site, as specified in the config
- {{gallerytitle}} - the title of the current gallery. This is just taken from the folder name
- {{navigation}} - a nested html menu generated from the folder structure. Does not include wrapping ul tag so you can use your own id
- {{disqus_shortname}} - your disqus shortname, as specified in the config
- {{disqus_identifier}} - the disqus_identifier, which is just the relative path of the current gallery
- {{imageurl}} - url of the directory which contains the image/video resources, relative to the current html file.
- For images, this folder will contain all the scaled versions of the images, where the file name is simply the width of the image - eg. 640.jpg
- For videos, this folder will contain scaled videos for each resolution and video codec. The naming convention here is size-codec.extension - eg. 640-h264.mp4
- For videos, this folder will additionally contain scaled images in the same nomenclature (eg. 640.jpg) to be used as posters prior to video load
- {{imagewidth}} - maximum width that the source image can be downscaled to
- {{imageheight}} - maximum height, based on aspect ratio and max width
- {{type}} - the type of media to display, this is a string that can either be "image" or "video"
- {{textcolor}} - color of the text, either extracted from the source image or specified in config
- {{backgroundcolor}} - background color, either extracted from the source image or specified in config
---
mycustomvar: foo
---
Additional notes:
Specify default values, in case of unset template variables in the form {{foo:bar}} eg:{{width:50}}
Any unused {{xxx}} variables that did not have defaults are removed from the generated page.
Any non-template files (css, images, javascript) in the theme directory are simply copied into the _site directory.
To avoid additional dependencies, the YAML parser and template engine is simply a sed regex. This means that YAML metadata must take the form of simple key:value pairs, and more complex liquid template syntax are not available.
from https://github.com/Jack000/Expose