Simple Notepad Application in PyQt5
Take Notes and Save the as .txt file using Python and PyQt5 Framework.
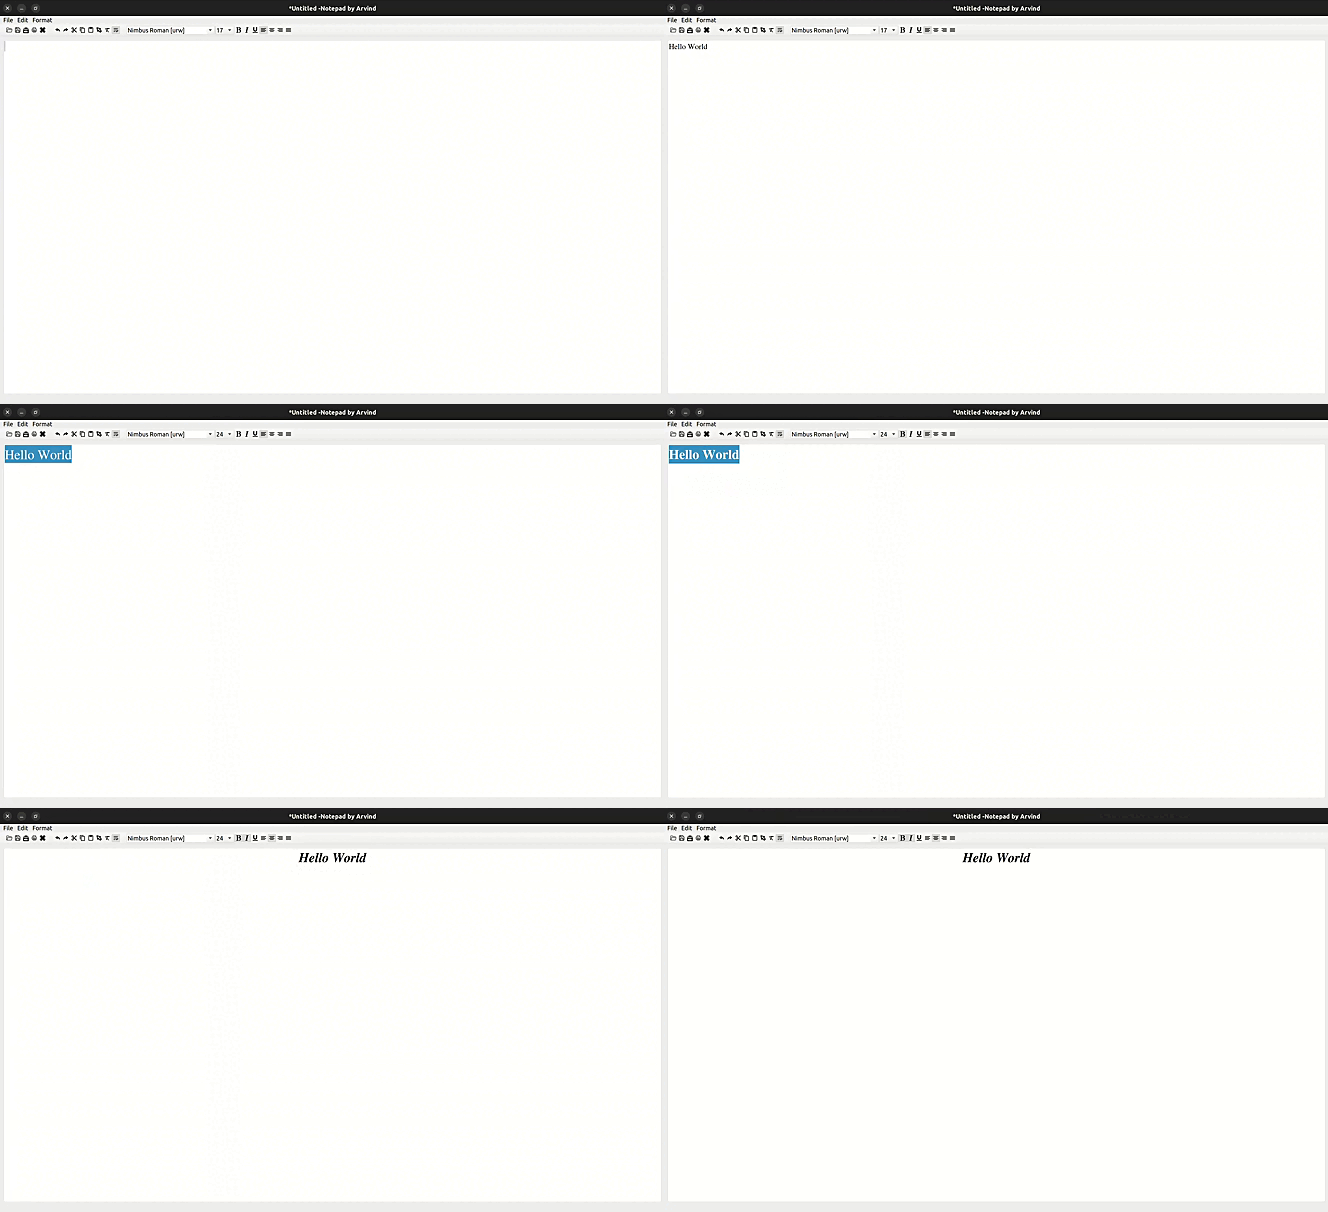
The purpose of this project is to create a simple
note-taking application using Python and the PyQt5 framework. The
application will allow users to write and save notes as .txt
files. This project demonstrates basic GUI programming in PyQt5 and
file handling in Python, offering a practical example of how to build a
desktop application with these technologies.
- Python: Ensure you have Python 3.6 or higher installed on your system.
- PyQt5: The PyQt5 framework will be used for creating the graphical user interface.
- Git: To clone the repository and manage code versions.
Follow these steps to set up the environment and run the Tetris game:
A virtual environment allows you to manage dependencies separately for each project, avoiding conflicts with other projects.
- Navigate to Your Development Directory:
cd ~/Dev- Create a New Directory for the Notepad Project:
mkdir ~/Dev/notepad -p- Navigate into the Tetris Directory:
cd ~/Dev/notepad- Install
virtualenvif it is not already installed:
python3.10 -m pip install virtualenv- Create a Virtual Environment in the Current Directory:
python3.10 -m virtualenv .- Activate the Virtual Environment:
source bin/activateYou can install the required dependencies using either pip or poetry.
- Clone the Notepad Repository:
git clone https://github.com/Arvind-4/notepad-in-pyqt5.git .- Install the Dependencies Listed in
requirements.txtandrequirements-dev.txt:
pip install -r requirements.txt -r requirements-dev.txt- Clone the Notepad Repository:
git clone https://github.com/Arvind-4/notepad-in-pyqt5.git .- Install the Dependencies Using Poetry:
poetry installOnce the dependencies are installed, you can run the Notepad app by executing the main Python script:
python run.pyFollow these instructions to successfully set up and run the Notepad app. Enjoy using it!
For any issues, please raise an issue on GitHub or contribute by creating a pull request.
By following these instructions, you will have set up a note-taking application using Python and PyQt5. This application provides a basic yet functional interface for creating and saving notes. You can extend this project further by adding features like note organization, search functionality, or more advanced file handling.
from https://github.com/arvind-4/notepad-in-pyqt5
------
Simple QR Code Generator Using PyQt5.
Generating QR codes using PyQt5 combines the graphical user interface (GUI) capabilities of PyQt5 with the ability to generate QR codes. PyQt5 is a set of Python bindings for the Qt application framework, allowing for the creation of cross-platform applications with rich graphical interfaces.
This guide will walk you through setting up a development environment, cloning a repository, installing necessary dependencies, and running the code to generate QR codes using PyQt5.
Before you start, ensure you have the following installed on your system:
- Python 3.10 or higher
- Git
Follow these steps to set up and run the QR code generation application on your local machine:
A virtual environment is a self-contained directory that contains a Python installation for a particular version of Python, plus several additional packages. It allows you to manage dependencies for different projects separately.
- Install
virtualenvif you haven’t already:
python3.10 -m pip install virtualenv- Navigate to your development directory and create a new directory for the project:
cd ~/Dev
mkdir qrcode
cd qrcode- Create a virtual environment within this directory:
python3.10 -m virtualenv .- Activate the virtual environment:
source bin/activateAfter activation, your shell prompt should change to indicate that you are now working within the virtual environment.
You need to clone the repository containing the QR code generation code and install the required Python packages.
- Clone the repository from GitHub:
git clone https://github.com/Arvind-4/qrcode-using-pyqt5.git .- Install the required dependencies. The
requirements.txtfile lists the packages needed for the project, andrequirements-dev.txtmay include additional packages needed for development:
pip install -r requirements.txt -r requirements-dev.txtThis ensures all necessary libraries are installed in your virtual environment.
With the environment set up and dependencies installed, you can now run the application to generate QR codes.
- Execute the main script:
python run.pyThis script starts the application, which should open a graphical interface for generating QR codes.
By following these steps, you’ve created a virtual environment, set up the project, and run a PyQt5 application to generate QR codes. PyQt5 provides a powerful way to create GUI applications, and combining it with QR code generation functionality allows for the creation of interactive and useful tools.
If you encounter any issues or need further customization, please create an issue on the repository for any problems.
from https://github.com/arvind-4/qrcode-using-pyqt5
------
Calculator in PyQt5.
A simple calculator GUI app in Python and PyQt5.

- Python - Python is a high-level, general-purpose programming language.
- PyQt5 - A comprehensive set of Python bindings for Qt v5.
- Clone Repo
cd /path/to/folder
mkdir calculator
cd calculator
git clone https://github.com/Arvind-4/Calculator-In-PyQt5.git .- Create a Virtual Environment
cd calculator
python3.9 -m venv .
source bin/activate
For Windows use: .\Scripts\activate
- Install Dependencies
pip install -r requirements.txt- Run the App
python src/main.pyfrom https://github.com/arvind-4/calculator-using-pyqt5----- This a Translator built on PyQt5 module in Python .
Translator-using-PyQt5 is a Python application designed for translating text using the PyQt5 framework. This tool provides a graphical user interface (GUI) that leverages PyQt5 for an interactive and user-friendly experience.
To run the Translator-using-PyQt5 application, ensure you have the following prerequisites:
- Python 3.10 or higher: Download Python
- Git: Install Git
- Basic knowledge of Python and PyQt5: Familiarity with Python programming and the PyQt5 library is helpful. You can find resources to learn PyQt5 here.
Make sure you have Python and Git installed on your system before starting the installation process.
The primary goal of this project is to provide an accessible and easy-to-use translation tool using PyQt5. By leveraging PyQt5, the application aims to offer a graphical interface that enhances user interaction and experience with translation services.
To run this application locally, follow the steps below:
Create a virtual environment to manage your project's dependencies. Open a terminal and execute the following commands:
cd ~/Dev
mkdir ~/Dev/translator -p
cd ~/Dev/translator
python3.10 -m pip install virtualenv
python3.10 -m virtualenv .
source bin/activateClone the repository containing the application code and install the necessary dependencies:
cd ~/Dev/translator
git clone https://github.com/Arvind-4/translator.git .
for pip run
pip install -r requirements.txt -r requirements-dev.txtfor poetry run
poetry installAfter installing the dependencies, you can run the application using:
python run.pyThis project implements a simple translator application using Python and the PyQt5 library. The application is built to offer basic translation functionality and is intended for developers and enthusiasts interested in GUI-based translation tools and PyQt5.
from https://github.com/arvind-4/translator


No comments:
Post a Comment