在本地机器mac上。先运行ss. 然后安装go1.16版。
我的 mac机器安装了go1.15版和go1.16版,现在默认使用的是go1.15版。现在需要切换为go1.16版:nano ~/.profile
cat ~/.profile
...
export PATH=$PATH:~/go1.16.3/go/bin
export GOROOT=~/go1.16.3/go
export GOPATH=~/go1.16.3/go/gopath
export PATH=$PATH:~/go1.16.3/go/gopath/bin
#export PATH=$PATH:~/go1.15.3/go/bin
#export GOROOT=~/go1.15.3/go
#export GOPATH=~/go1.15.3/go/gopath
#export PATH=$PATH:~/go1.15.3/go/gopath/bin
...
然后,
. ~/.profile 使修改生效。
git clone https://github.com/xjasonlyu/tun2socks tun2socks-by-xjasonlyu
cd tun2socks-by-xjasonlyu
go install (这一步要挂个vpn,才会安装成功)
which tun2socks
(未显示内容。意思是未找到可执行文件 tun2socks)
find ~ -name tun2socks
显示:
...
/Users/myusername/go1.15.3/go/bin/tun2socks
...
(唉,就像安装rosen那样。可执行文件 tun2socks又跑到了go1.15.3版的/Users/myusername/go1.15.3/go/bin/下。)
/Users/myusername/go1.15.3/go/bin/tun2socks -h
sudo /Users/myusername/go1.15.3/go/bin/tun2socks -proxy socks5://127.0.0.1:1080 -device tun://utun9
显示:
INFO[0000] [STACK] tun://utun9 <-> socks5://127.0.0.1:1080
然后,
sudo ifconfig utun9 17.0.1.1 netmask 255.255.255.0 17.0.1.1 up
(此步解决Interface configuration问题)
sudo route delete default;sudo route add default 17.0.1.1;sudo route add vps-public-ip 192.168.1.1;sudo route add default 192.168.1.1
(此步解决route configuration问题)sudo networksetup -setdnsservers "Wi-Fi" 127.0.0.1
cd ~/goproxy-by-snail007 && sudo ./proxy dns -S socks -T tcp -P 127.0.0.1:1080 -p :53
此时,你的整台mac机器就可用全局代理程序tun2socks-by-xjasonlyu翻墙了。
注意:上面的命令:
sudo /Users/myusername/go1.15.3/go/bin/tun2socks -proxy socks5://127.0.0.1:1080 -device tun://utun9 中,socks协议必须写为socks5,而非socks。在Mac上,这里的tun name只能设为
utun0-9. 如果你设为tun://utun0,运行此命令显示:create tun: resource busy。换一个
tun name即可,比如tun://utun9。
上面的127.0.0.1:1080为本地机器上的某个socks proxy的地址,我用的是ss的地址。
项目地址:https://github.com/xjasonlyu/tun2socks/
https://github.com/xjasonlyu/tun2socks/wiki
不过用这个全局代理程序翻墙,速度有点慢.
相关帖子:https://briteming.blogspot.com/2019/08/mac.html
-----------
This is a simple script that will route all traffic through xray using tun2socks tun adapter
.
xray-tun2socks
This is a simple script that will route all traffic through xray using tun2socks tun adapter
📖 Pre-Requirements
- install xray using command " bash -c "$(curl -L https://github.com/XTLS/Xray-install/raw/main/install-release.sh)" @ install "
- clone the repo into any directory ( git clone https://github.com/iamtrazy/xray-tun2socks )
- create a user named tun2socks - ( sudo useradd -m tun2socks )
📖 How to connect
- go to the directory xray-tun2socks
- edit the config.json file and paste your xray-client configuration ( do-not use dns name , instead use VPS ip address )
- set 10808 as socks5 inbound port in xray config
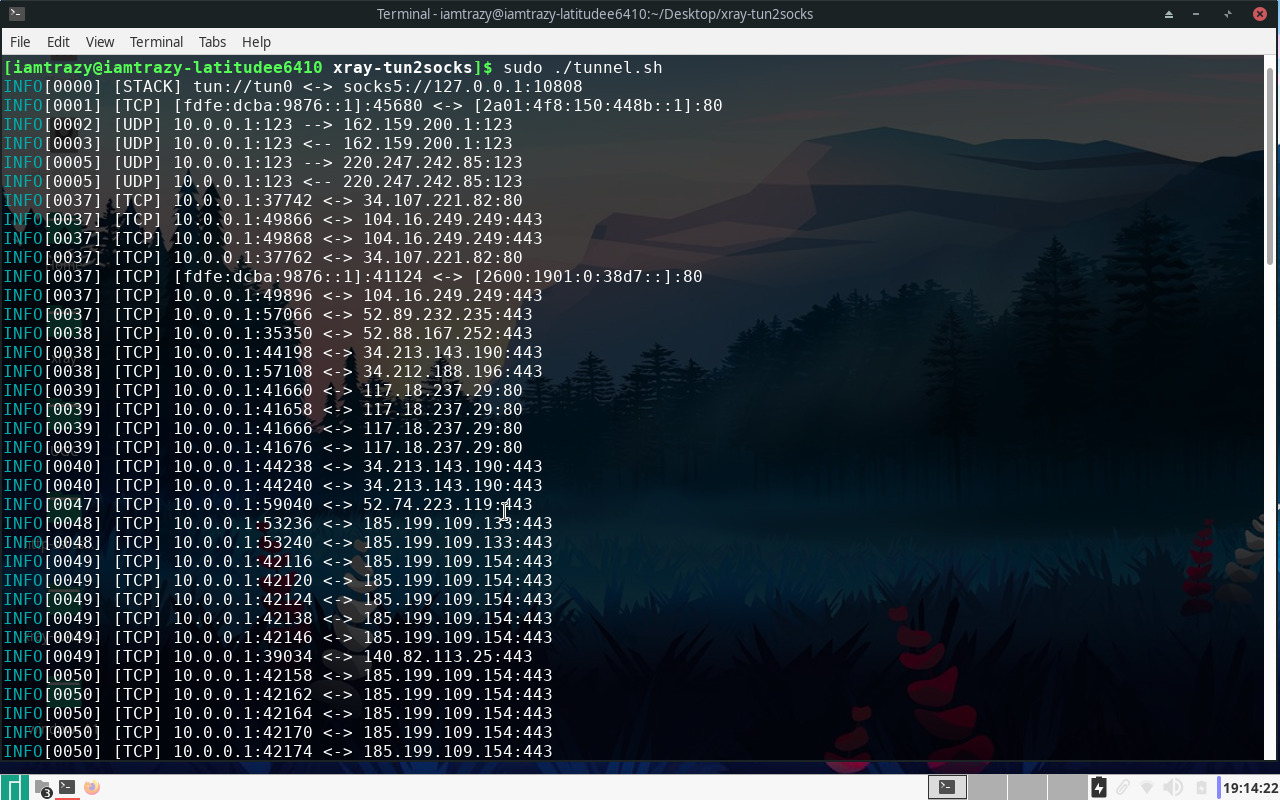
- run the tunnel.sh file ( sudo ./tunnel.sh )
- you can stop the script anytime by pressing ctrl+c
screenshots
 Credits
https://github.com/xjasonlyu/tun2socks
https://github.com/XTLS/Xray-install
from https://github.com/iamtrazy/xray-tun2socks
No comments:
Post a Comment